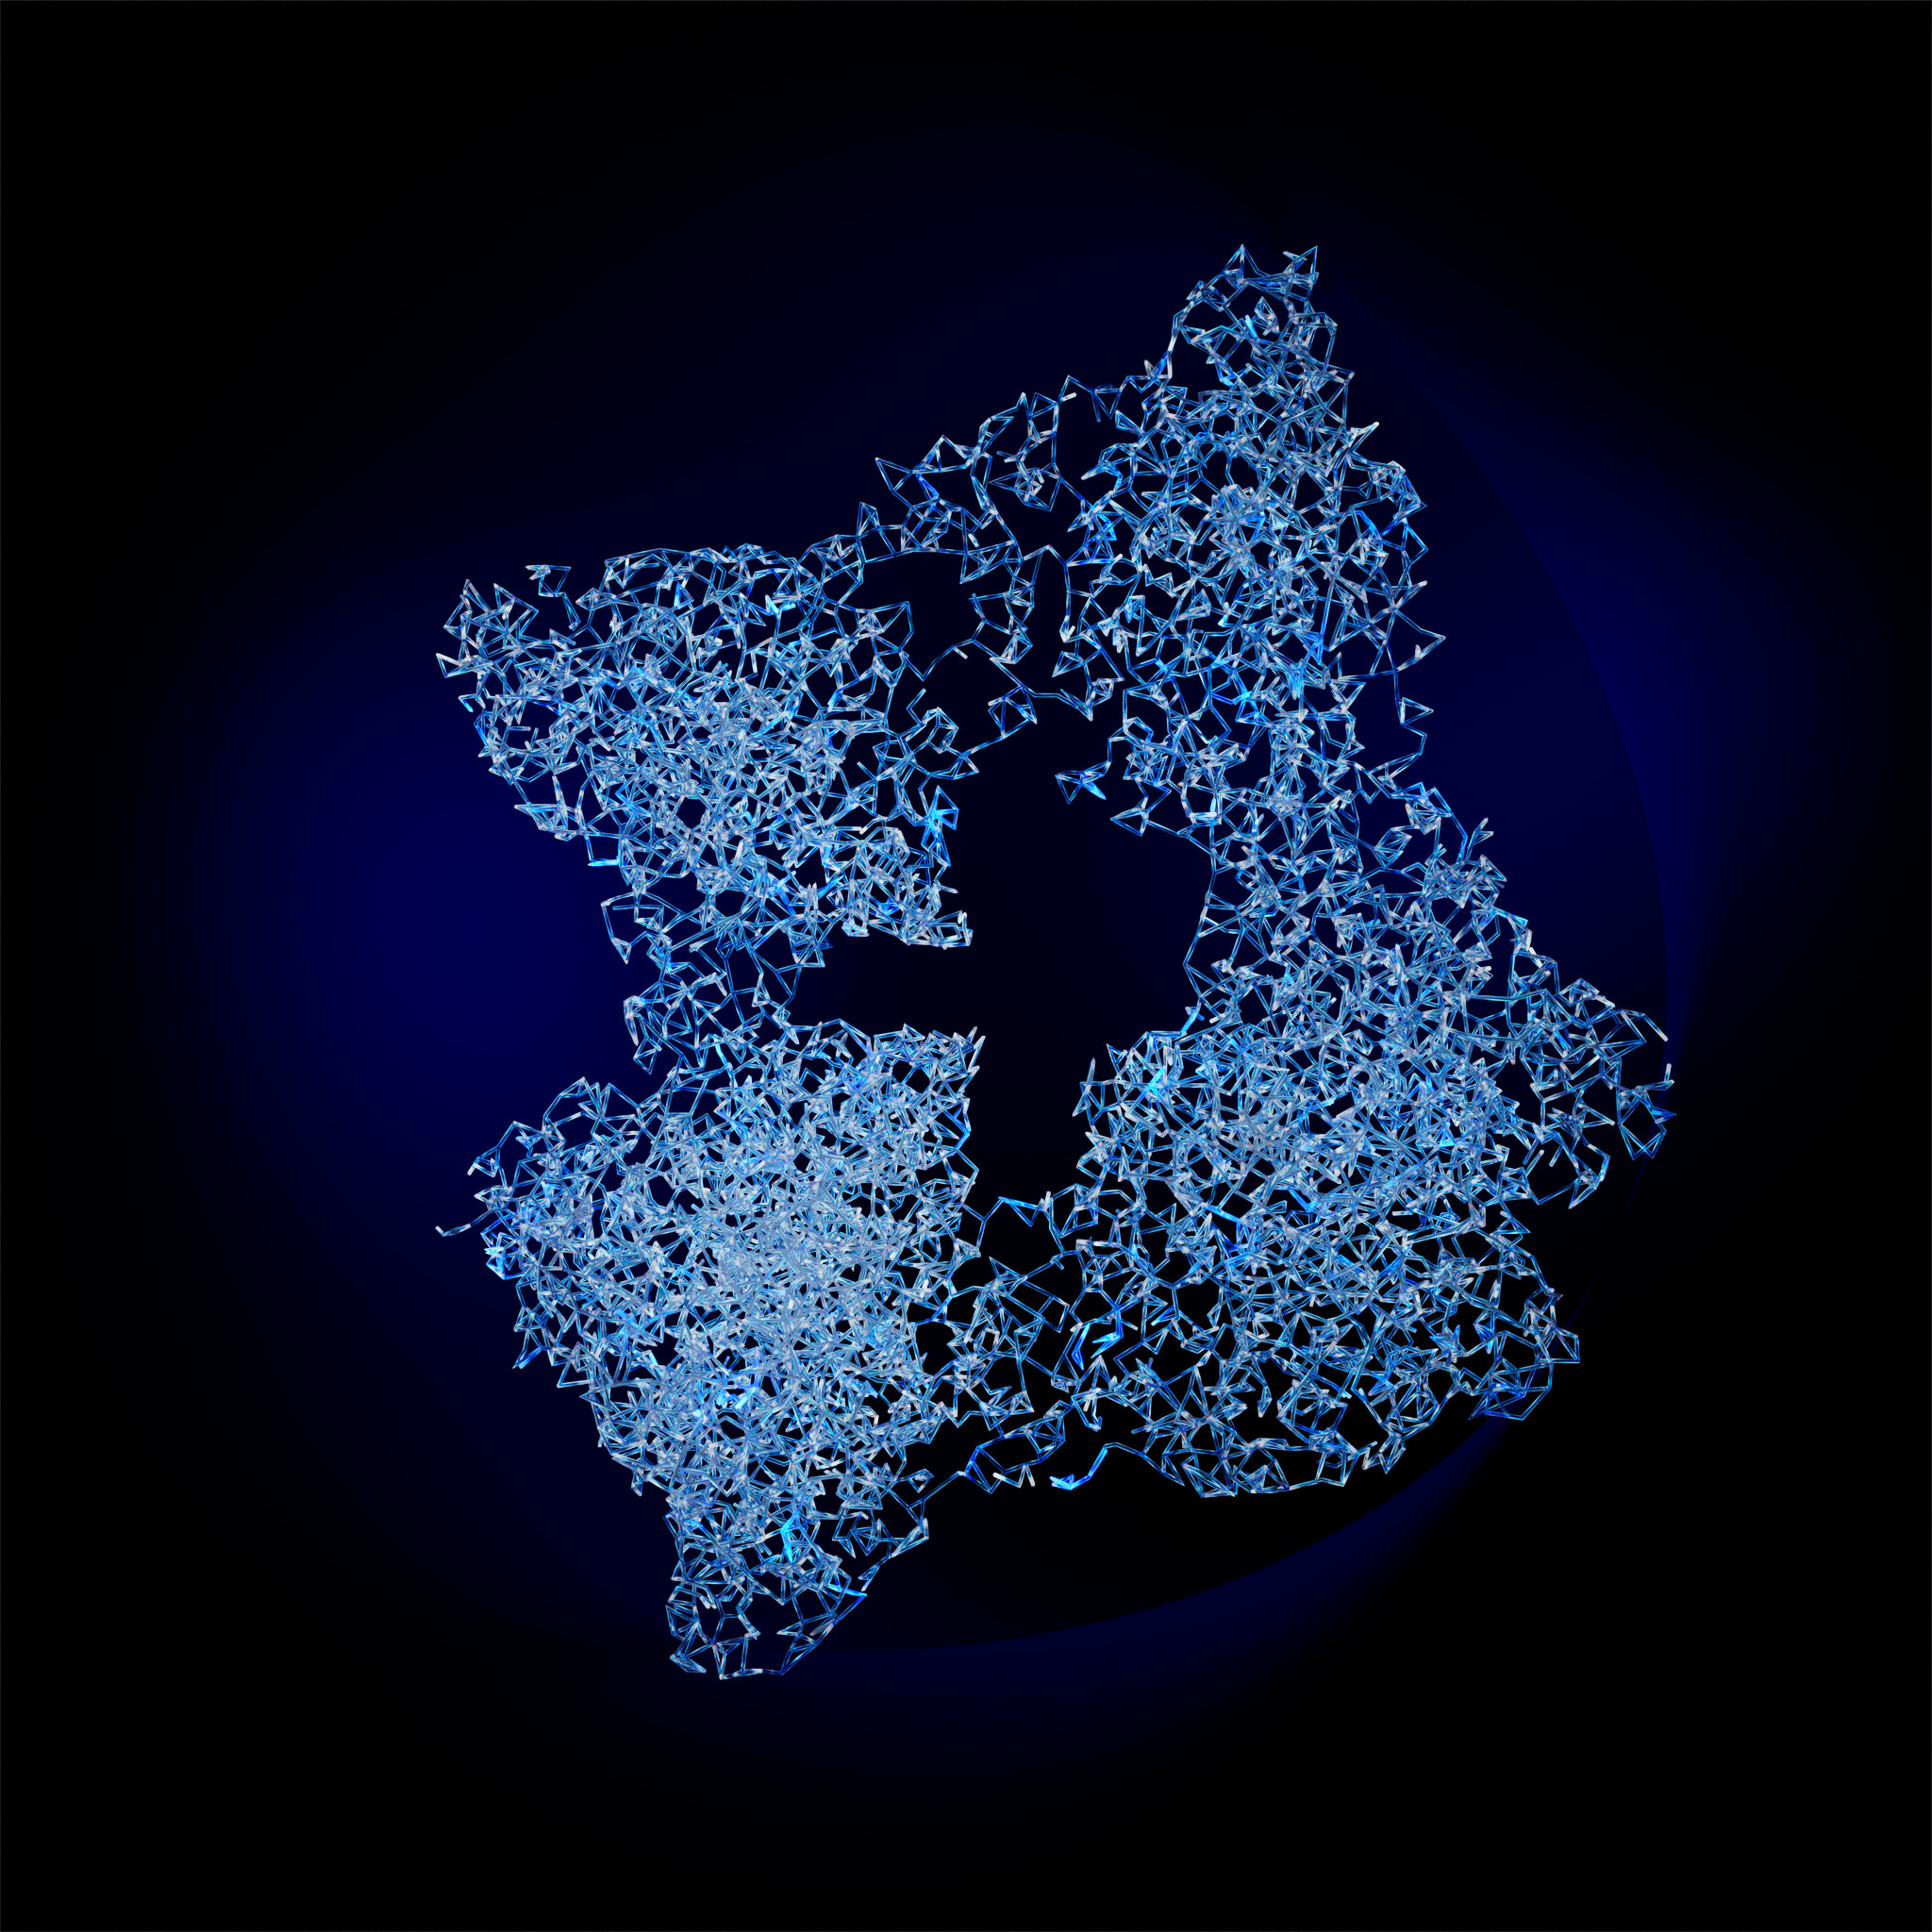
Celestial Web
Responsibilities: 3D Modeling, VEX coding, Animation, Rendering, Lighting design
Overview
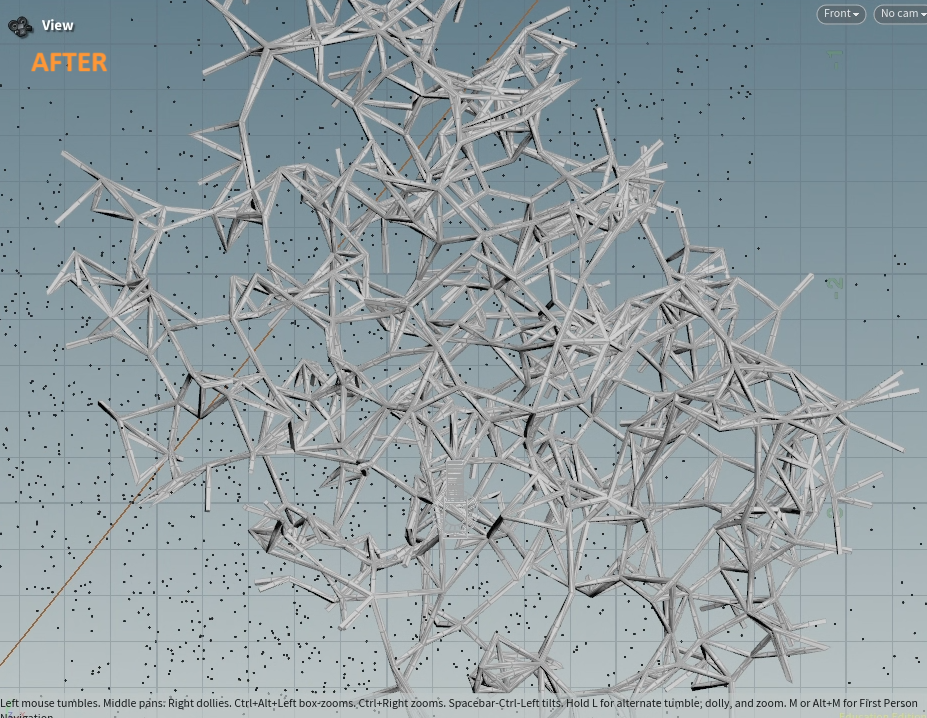
This project integrates 3D modeling, procedural coding, and animation techniques to create an immersive journey through a radiant celestial structure. A distorted torus serves as the foundation for evolving mask geometries and VEX-driven point connections, forming an intricate web of interconnected elements. With four dynamic camera animations, a custom crystalline material that captures and refracts light, and a meticulously designed cosmic lighting setup, Celestial Web invites the viewer to travel through the crystalic emerging structure somewhere in space.
3D Modeling
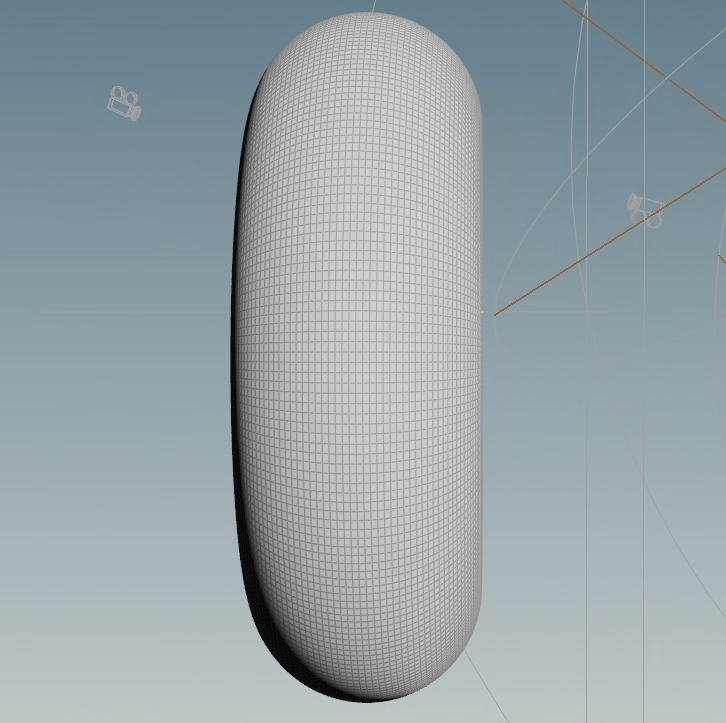
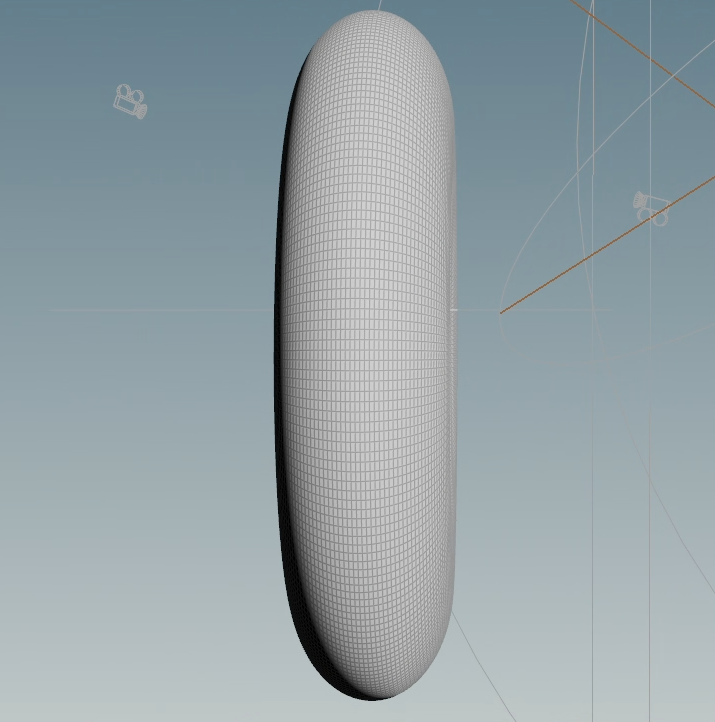
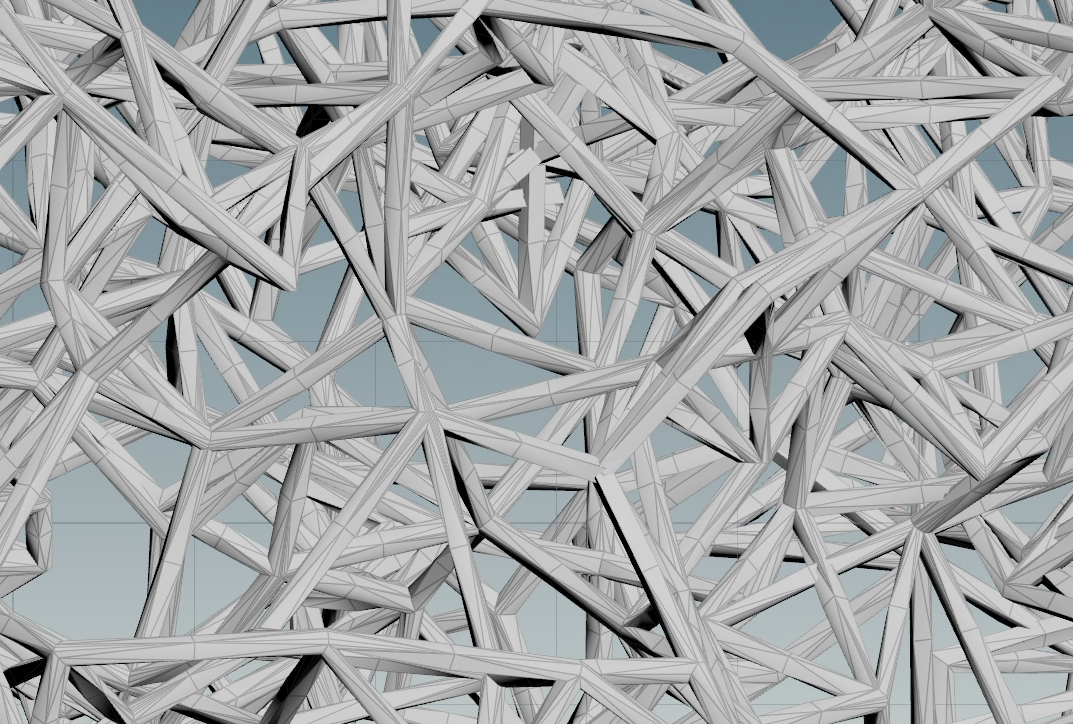
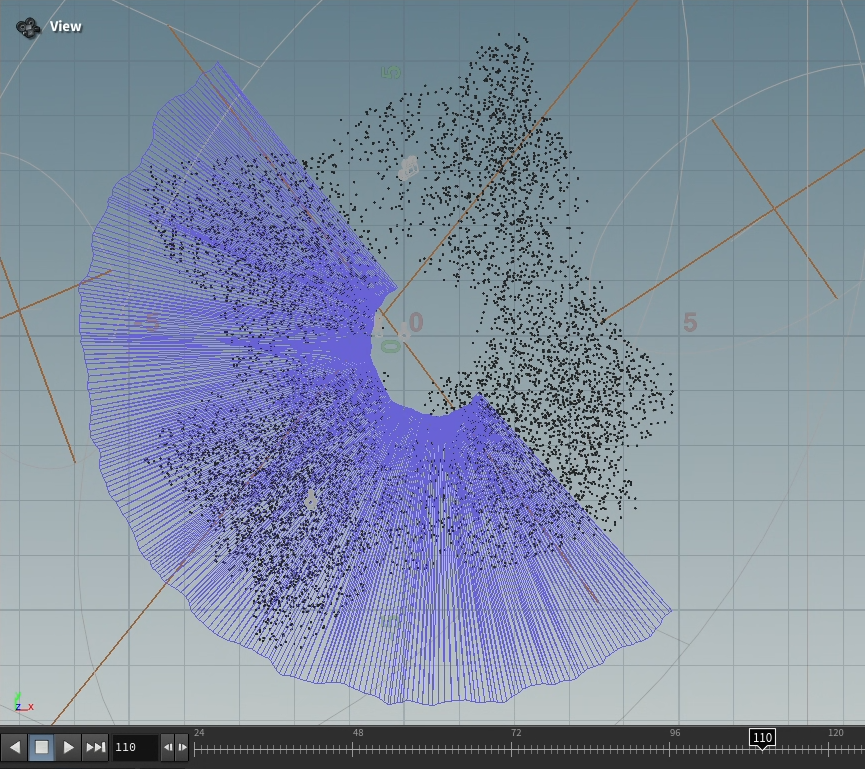
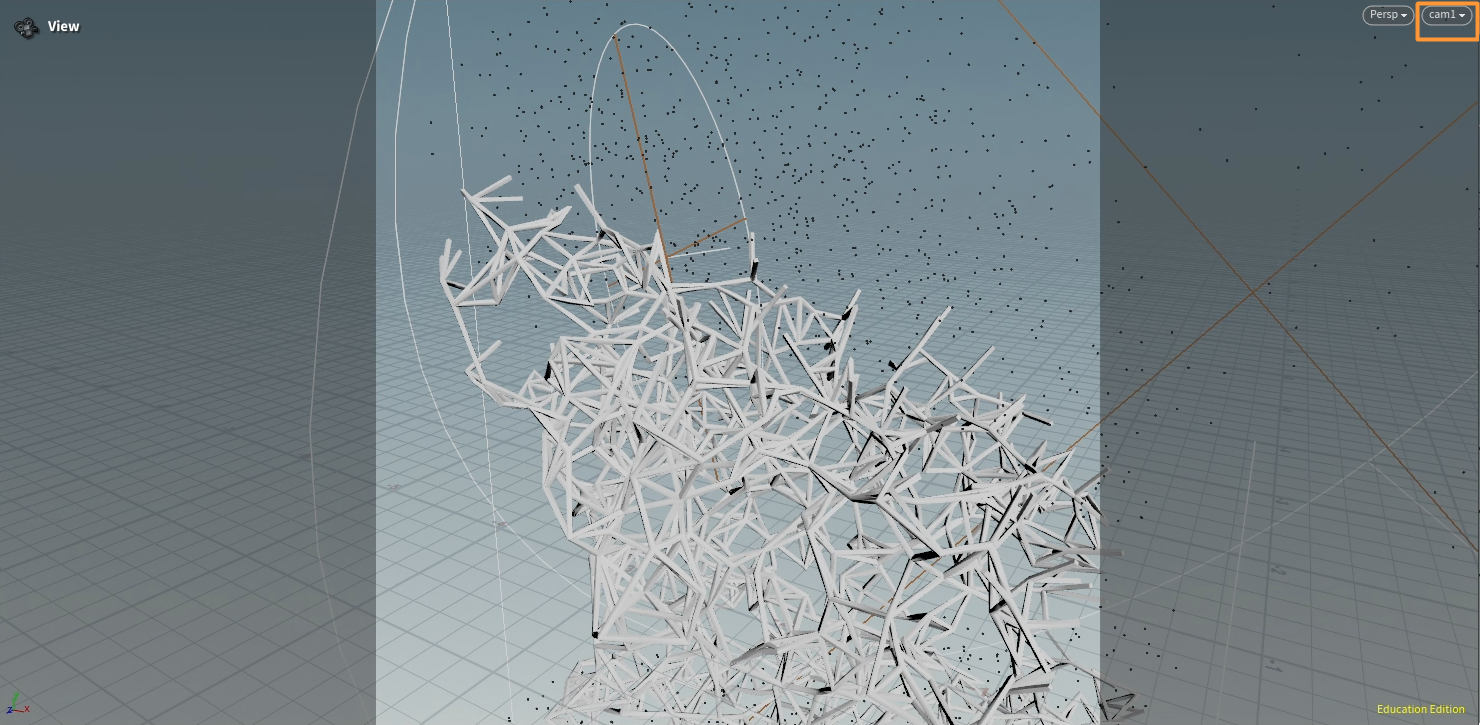
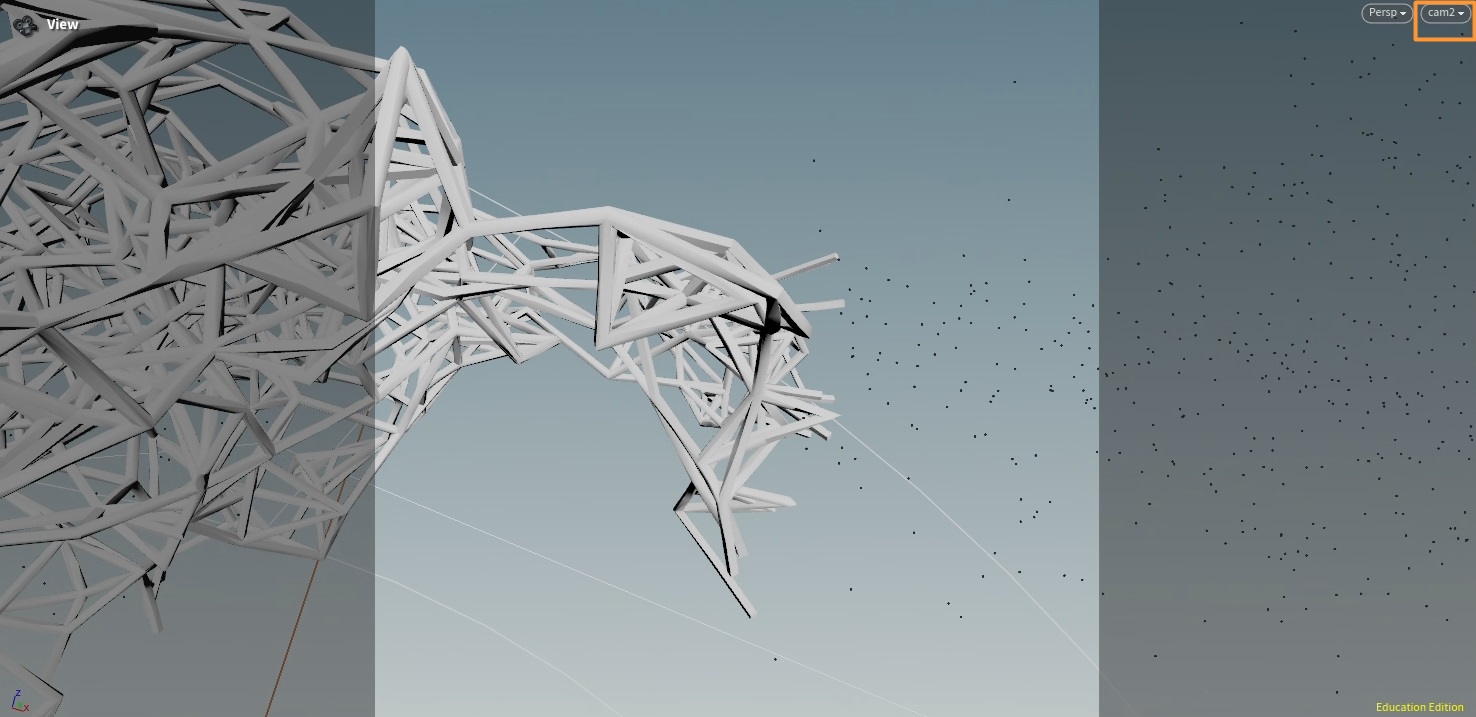
I began by shaping a distorted torus, narrowing the basic form and applying a Mountain SOP to its surface to create irregularities. Points were then scattered across the surface, which would later be used to form connections for the crystalline lines. These crystalline lines were modeled as polyline primitives, later converted into PolyWire with four divisions to achieve sharp, crystal-like waves that are computationally efficient for simulation and rendering.

To create the gradual appearance of these lines, I generated a mask from an arc, to which I applied to the PolyWire, and I animated its Wire Radius to achieve a growing effect from frame 0 to the last frame. Additionally, I set keyframes on the Arc Angles to ensure the structure starts growing from frame 0 and reaches its endpoints by the last frame. Then I used Noise to add volume and irregularity. The mask attribute was then transferred to the main geometry stream. Through VEX code, I implemented a condition if (f@mask > 0.1), ensuring that only points with a mask value above 0.1 (a threshold I found effective) were processed, leaving unaffected points excluded from the operation.
VEX code
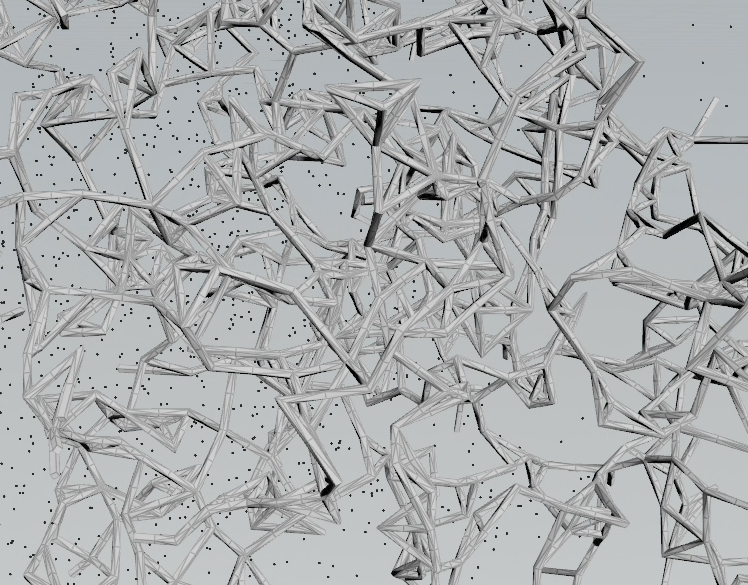
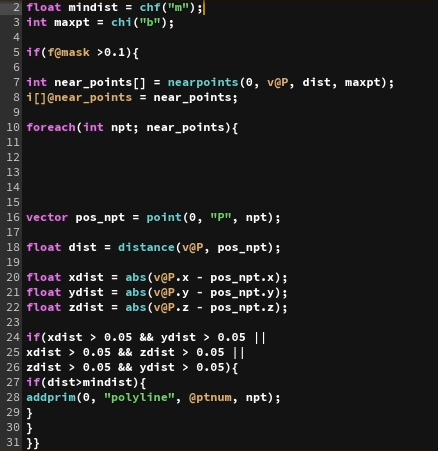
The VEX code generates a dynamic, web-like structure by selectively connecting points based on proximity and spatial filtering. First, it checks if a point's f@mask value is greater than 0.1, ensuring that only specific regions of the geometry are affected. The nearpoints function identifies nearby points within a defined distance (dist), and the number of neighbors is limited by a user-defined parameter (maxpt). For each nearby point, the code calculates both the total distance and the absolute differences along the x, y, and z axes. Connections are filtered to prevent excessively close alignments along any two axes and are only made if the total distance exceeds a minimum threshold (mindist). If all conditions are met, a polyline is created between the points, forming a structured, procedural network of connections.
Lighting design
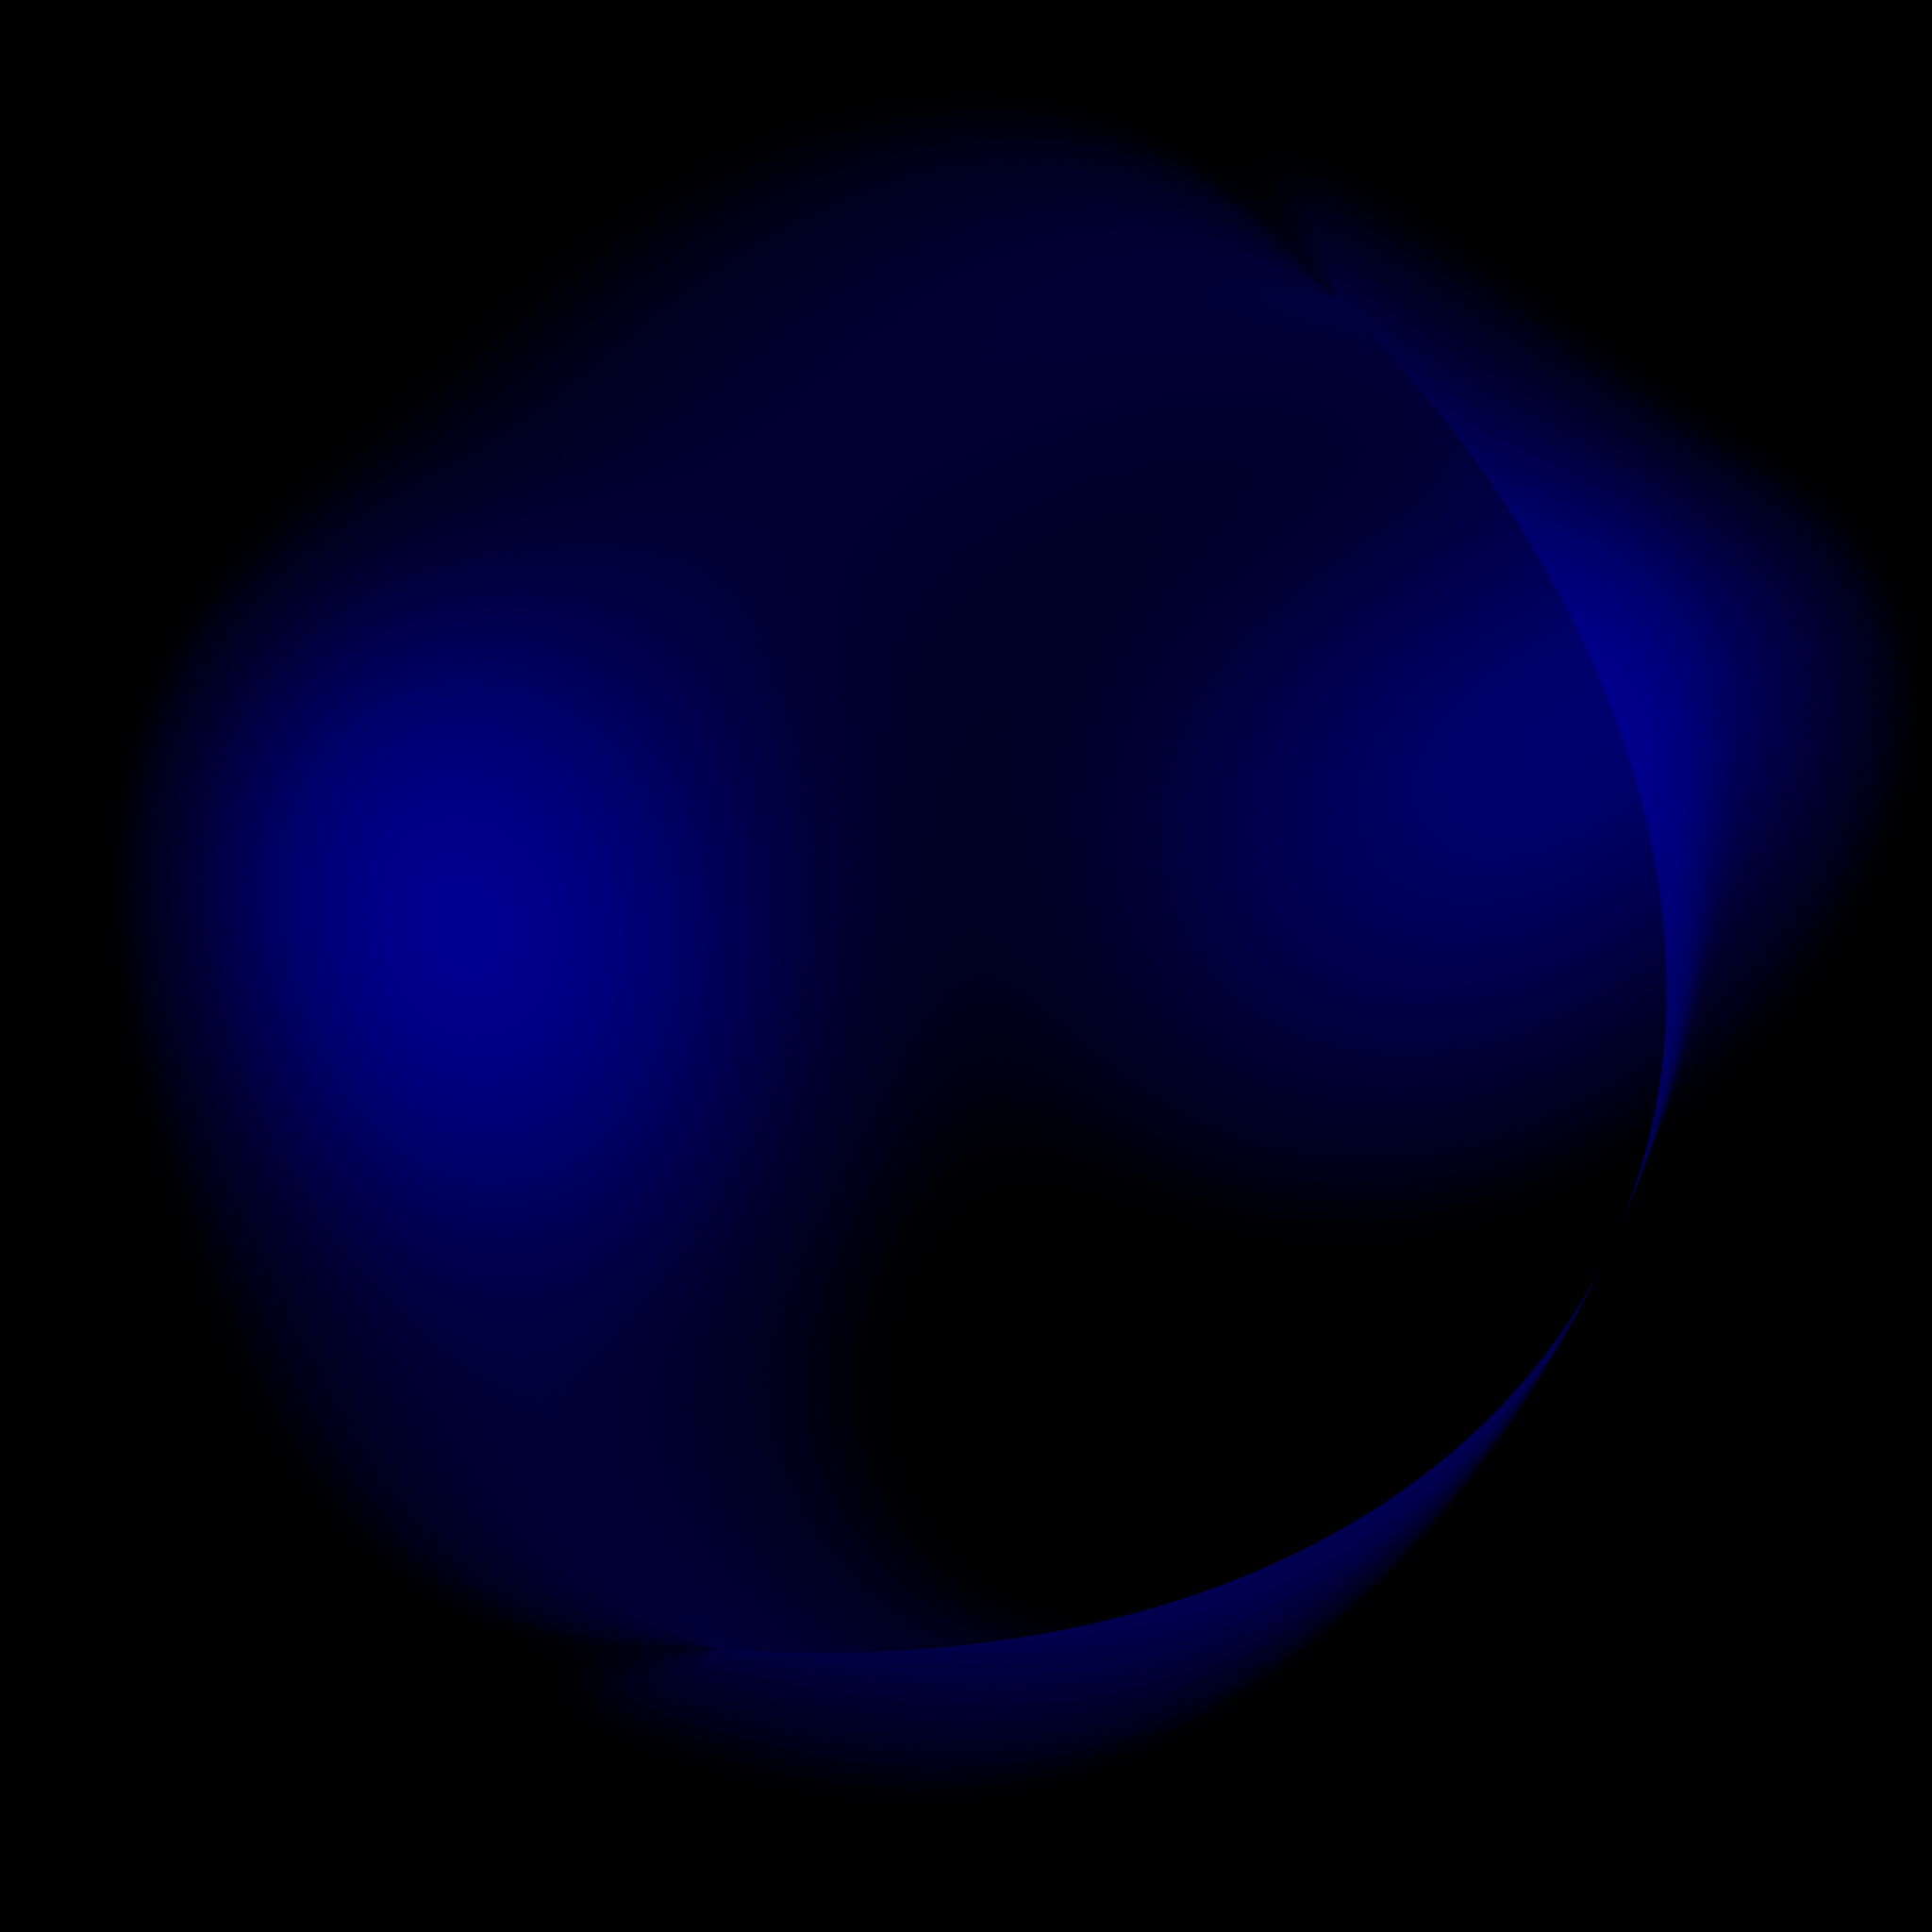
For the lighting, I experimented with various light forms and intensities to achieve a cosmic background effect. I placed several direct area lights shaped like discs and cylinders, each pointing toward a dark blue background. By adjusting their size, distance from the screen, and intensity, I was able to create a lighting setup that added depth to the final render.
Camera animation
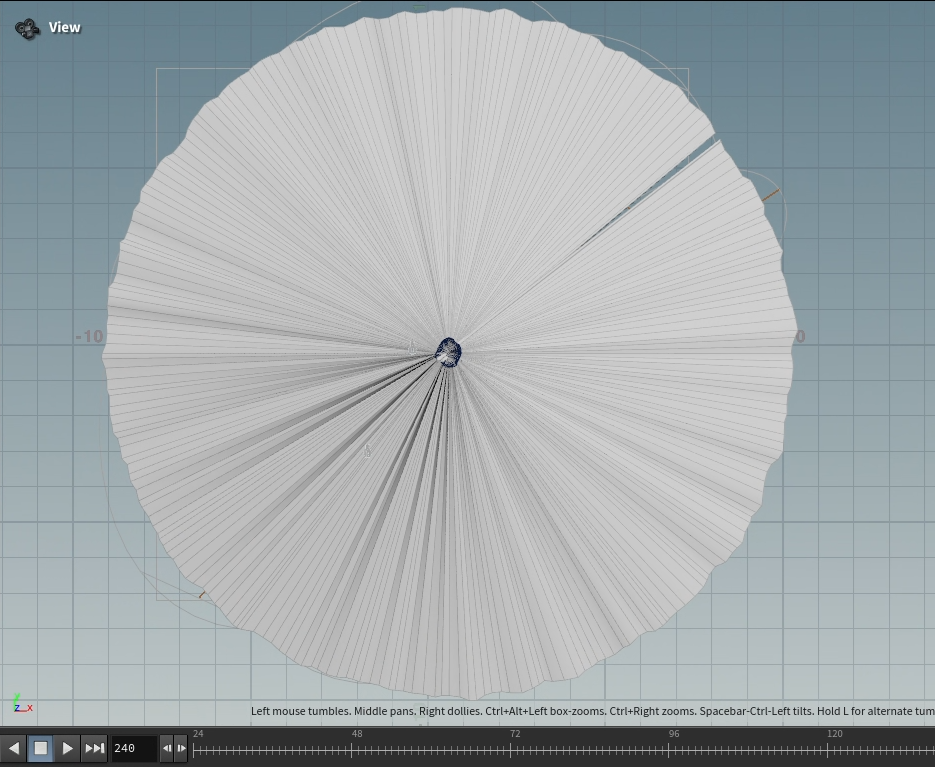
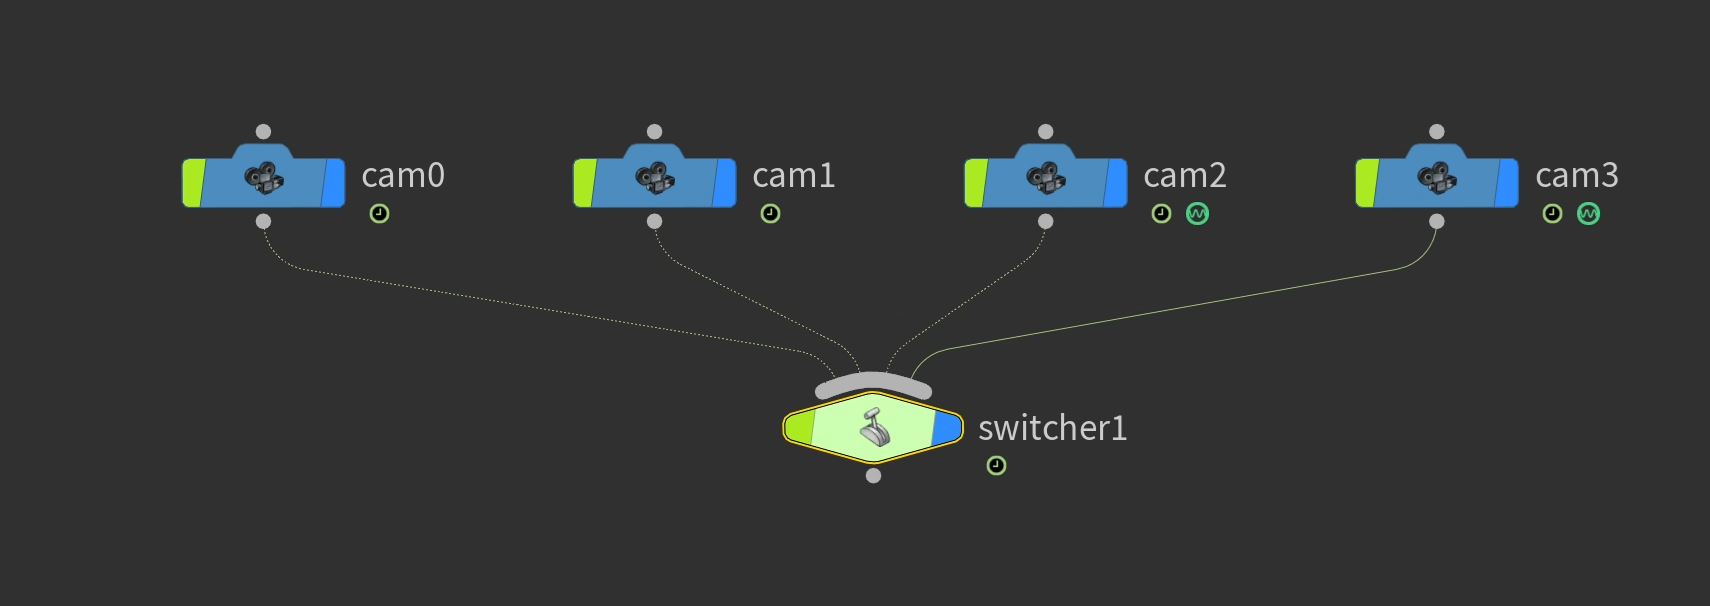
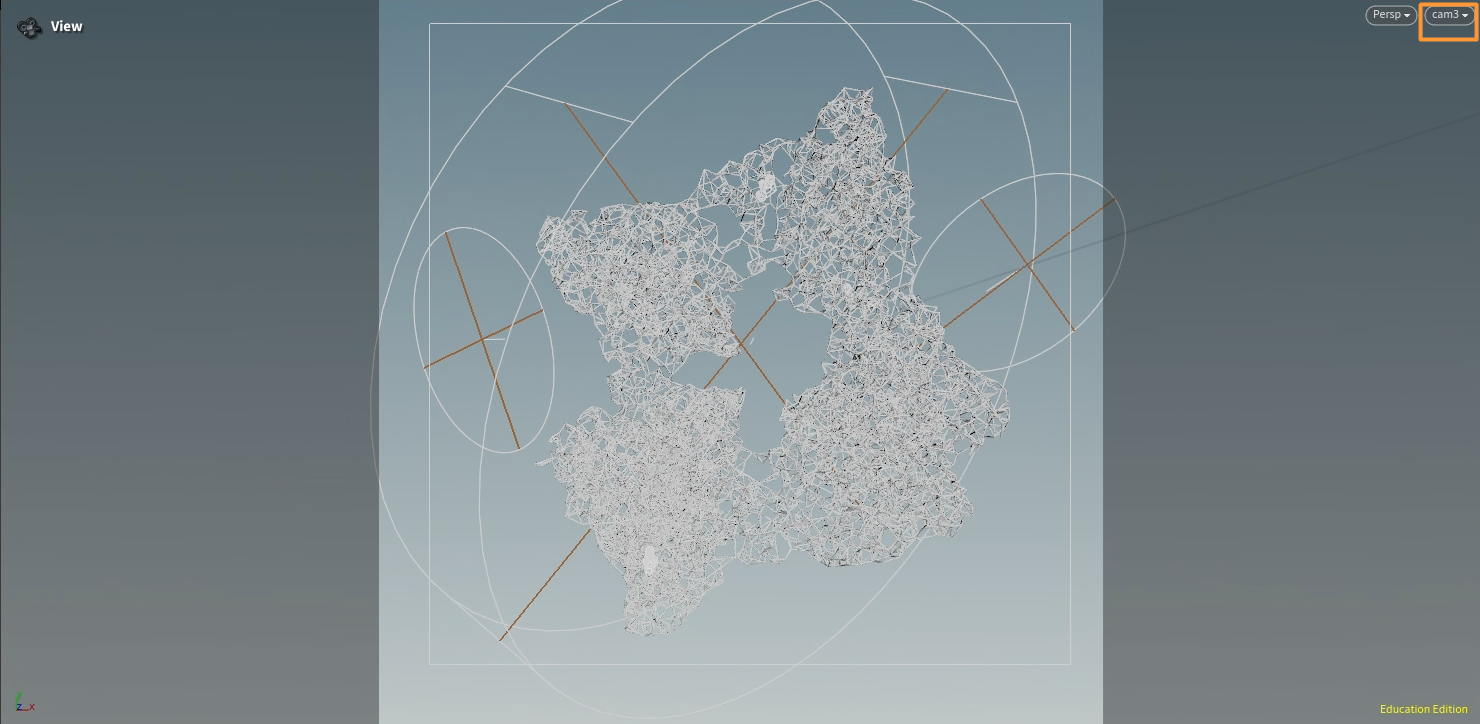
The animation utilizes four distinct camera moves, controlled sequentially through a Switch node. The first camera animates linearly along the Z-axis to approach the emerging structure. The second camera follows the development of the structure, rotating around 35 degrees along the Y-axis for a different perspective. The third camera focuses on the ends of the torus, using a CHOP network and Look-at Constraint to keep the structure in focus. Finally, the fourth camera moves along the Y-axis, slowly, from a distance, revealing the structure's ends connecting, allowing the viewer a moment to take in the full scale of the scene.


Rendering
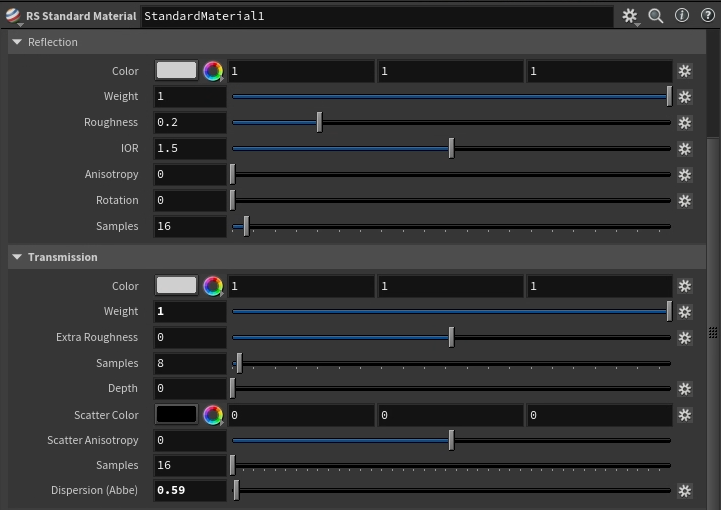
To transition from the initial gray geometry to the polished, shiny appearance, I created a custom RS Standard Material with high reflection, transmission, and dispersion qualities. In the Redshift Output node, I increased trace depth parameters to higher values, allowing the material to capture more complex refractions and achieve a deeper render.

Challenges and learning outcomes
A significant challenge arose from inconsistencies in the crystalline areas of the torus, where some regions had too many connections, leading to overly dense areas that rendered as indistinguishable shiny chunks.
To resolve this, I applied three approaches: narrowing the base geometry to reduce point density in these regions, optimizing the minimum distance between connected points, and increasing the refraction limit in the render settings. These adjustments resulted in clearer, more defined connections, reducing clutter and enhancing the overall clarity of the structure.